

How To Use White Balance Filter
Applied Photography is the world's all-time magazine for photographers who want to ameliorate their camera skills. Whether you're an absolute beginner, seasoned enthusiast or budding pro, yous'll find all the skills, techniques and ideas you need to have your passion to the side by side level. Mixed lighting — also known every bit several dissimilar types of lite in 1 scene — can exist a existent hurting. In this editing tutorial, Practical Photography magazine shows y'all how to have total control of this problem in Lightroom. Their October issue is out—subscribe now! You tin can besides visit practicalphotography.com for more Photoshop tutorial videos.
Lite is a photographer's best friend, because beyond the photographic camera itself it's the one thing that really makes photography possible. At the most basic level it allows us to capture scenes. Just its truthful power comes from its ability to add drama and mood to images of all types.
Shooting scenes where more one low-cal source is nowadays has always been a problem for photographers shooting in color. The reason for this is that different types of low-cal accept unlike colour temperatures, and cameras can merely deal with 1 or two when evenly mixed.
Lightroom affords a smashing deal of control over images whether you lot're working in colour or blackness & white, and for color work the nigh of import setting to get right is white balance. There are a number of presets that can oftentimes do a neat task of removing color casts, but there are times where a transmission approach is the only option. Mixed lighting is i of these times, and so we're going to prove you but how easy it is to manually accept control of the white rest in your shots.
First, watch the video beneath. So, read on for a step-by-step tutorial!
1. Make a global white balance adjustment
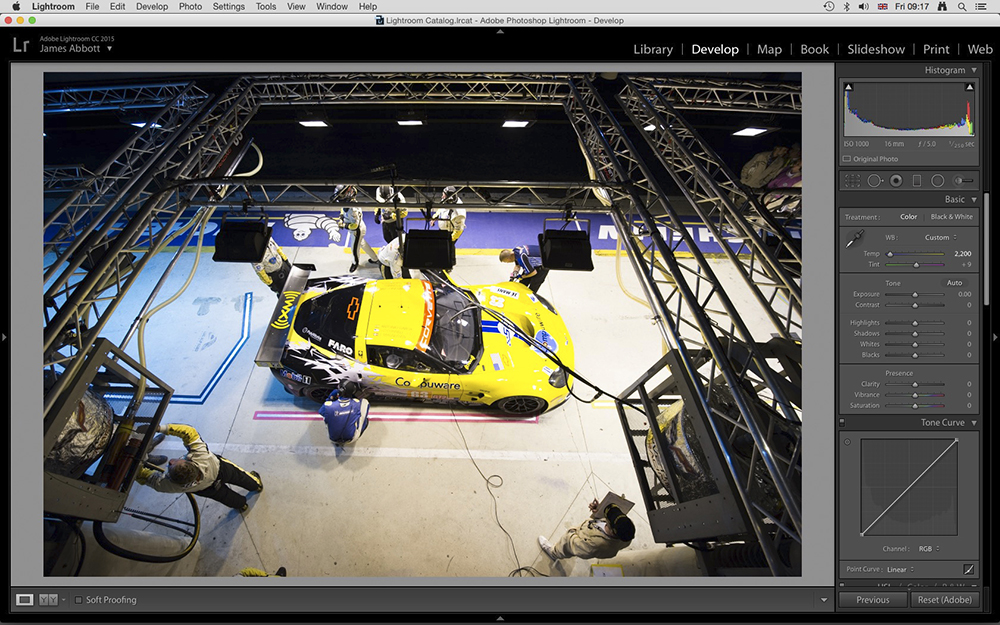
Open your paradigm in Lightroom or Adobe Camera Raw. To go started with the process, the overall white residual needs to be corrected. On the Bones panel, y'all'll see two sliders under White Rest – Temp and Tint. To reduce a color cast, simply move the relevant slider in the opposite management of the colour yous're trying to remove. Our shot had a yellowish cast, and so we dragged the Temp slider left.
ii. Procedure your epitome
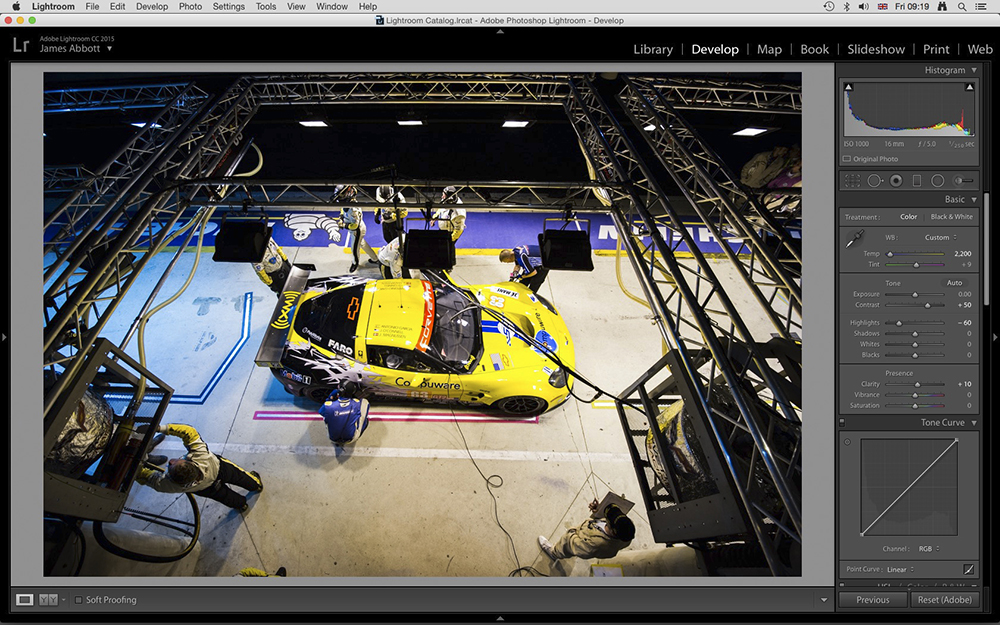
We now need to process the image before moving onto more localized white balance control. All shots are different, so the sliders you'll need to employ will always differ. For our image we but increased Contrast to +50, which is the average for nigh shots. Highlights were reduced to -threescore to recover detail in the brighter parts of the image. Finally, Clarity was set up to +x to increment midtone contrast.
3. Use Lens Correction
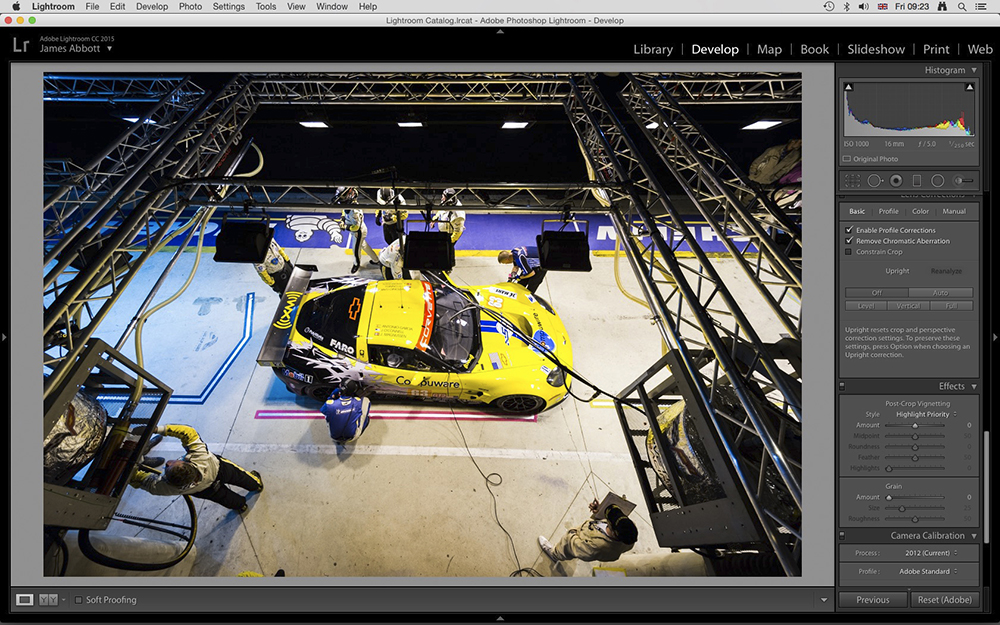
Roll down the panels on the right until you come to Lens Correction. Nether the Basic tab, check Enable Profile Corrections and Remove Chromatic Aberration. The former will just work if Lightroom contains a profile for your lens, but most modern lenses are included. If your lens isn't listed yous'll demand to use lens correction manually. The profile pushed our image besides far, so we'll tweak it manually in Stride 4.
4. Take control of Lens Correction
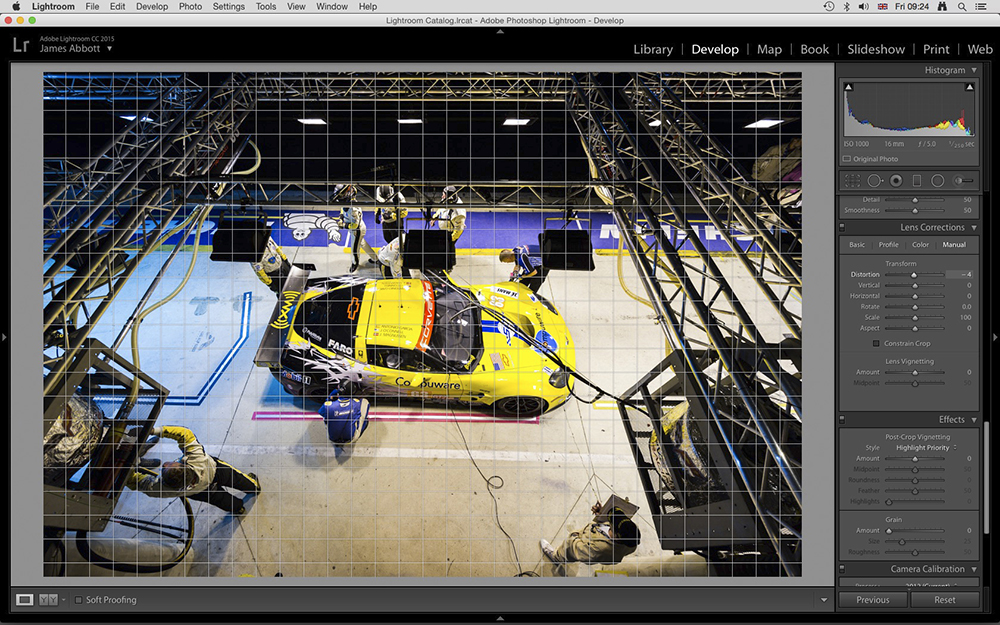
Lens Correction is a fantastic feature that'due south virtually often perfect. But at that place are time where yous may not like the distortion correction and vignette removal it provides. If you lot similar the overall look of the correction but want to brand a few tweaks, simply click on the Manual tab. This volition bring up a set of self-explanatory sliders. We applied Baloney at -four to reduce the distortion correction.
5. Control white balance locally
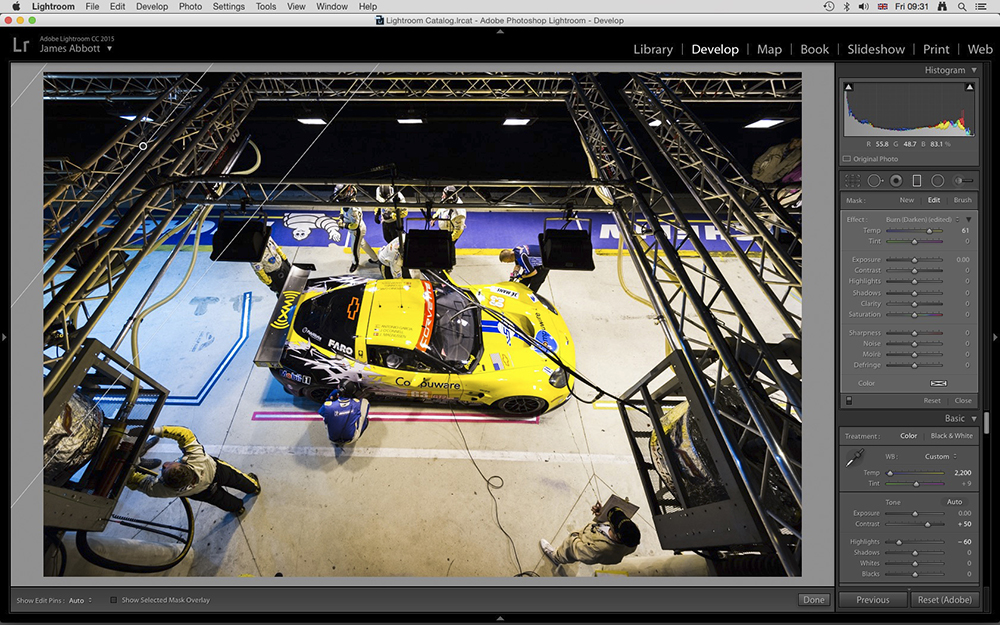
Simply below the Histogram you'll see six tool icons. Click on the third from the right, or printing Thousand, to activate the Graduated Filter. Left-click your mouse in the eye of the area where white balance needs to exist corrected and drag. Now utilise the Temp and Tint sliders to make the necessary adjustments. If you need to reposition the Graduated Filter, hover the mouse pointer over the guides, left-click and drag.
6. Adjust Exposure in small areas

Graduated Filters can exist added to use a range of adjustments – any that are present as sliders. Our paradigm is slightly lighter on the right side, so we created a second grad by simply left-clicking the mouse in the relevant area while the tool was active, and dragging. We so reduced Exposure to -xxx. Multiple graduated filters tin be added to images so the potential for making precise adjustments is huge.
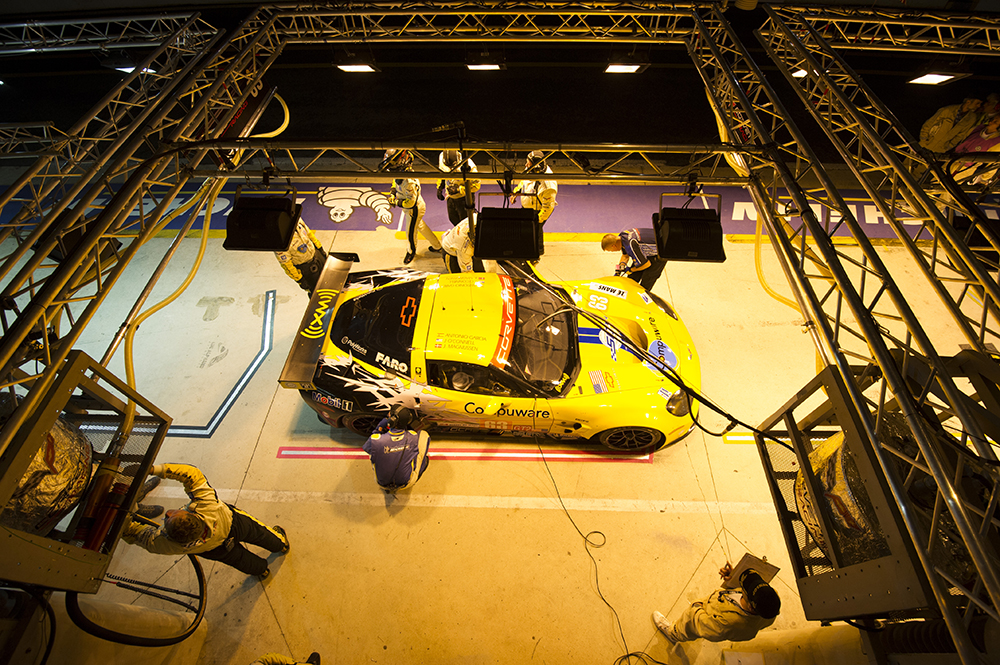
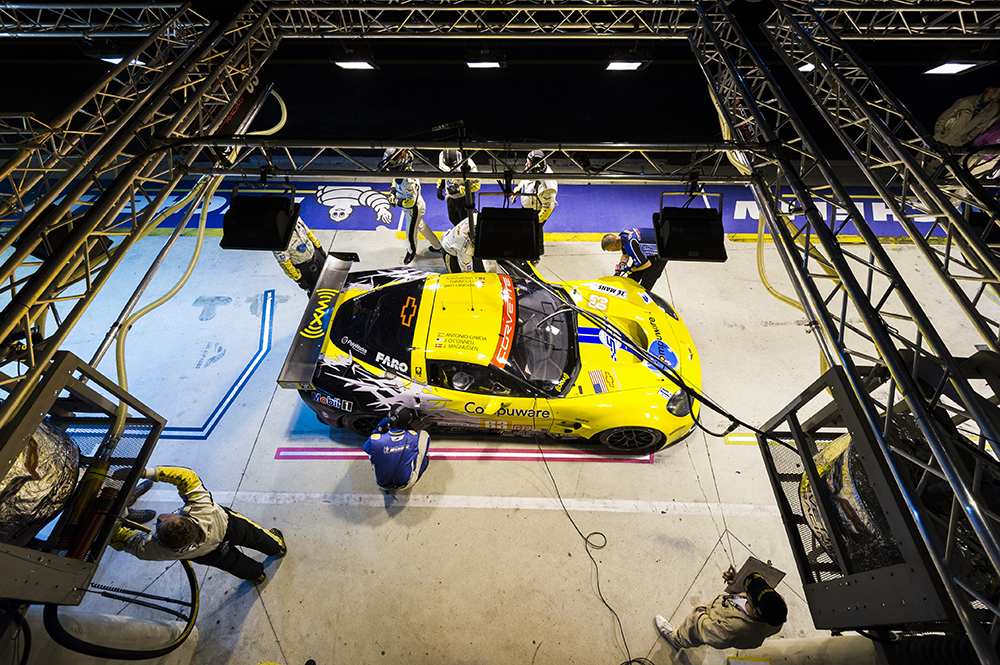
View the Earlier & After hither:
Accept any questions on this tutorial? Drop them in the comments or share your own tips for correcting images with mixed lighting sources in Photoshop.

How To Use White Balance Filter,
Source: https://iso.500px.com/tutorial-control-white-balance-using-graduated-filters/
Posted by: reimereaketury.blogspot.com
0 Response to "How To Use White Balance Filter"
Post a Comment